Ever dream of owning a top-notch professional recording studio setup, but feel daunted by the setup process? You’re not alone.Picture this: Crystal clear audio. Vibrant video. Seamless editing workflows. Your own professional space that turns creative visions into reality.
We’ve all been there – staring at an array of equipment options and wondering how to create a studio that sings… literally! Imagine if I said it was simpler than you might expect?
In this guide, we’ll dive deep into every aspect of setting up your perfect professional recording studio setup — from choosing the right camera to creating comfortable and functional recording spaces.
Stick around because by the end, you’ll be ready to turn those daunting doubts into decisive action!
Choosing the Right Camera for Your Needs
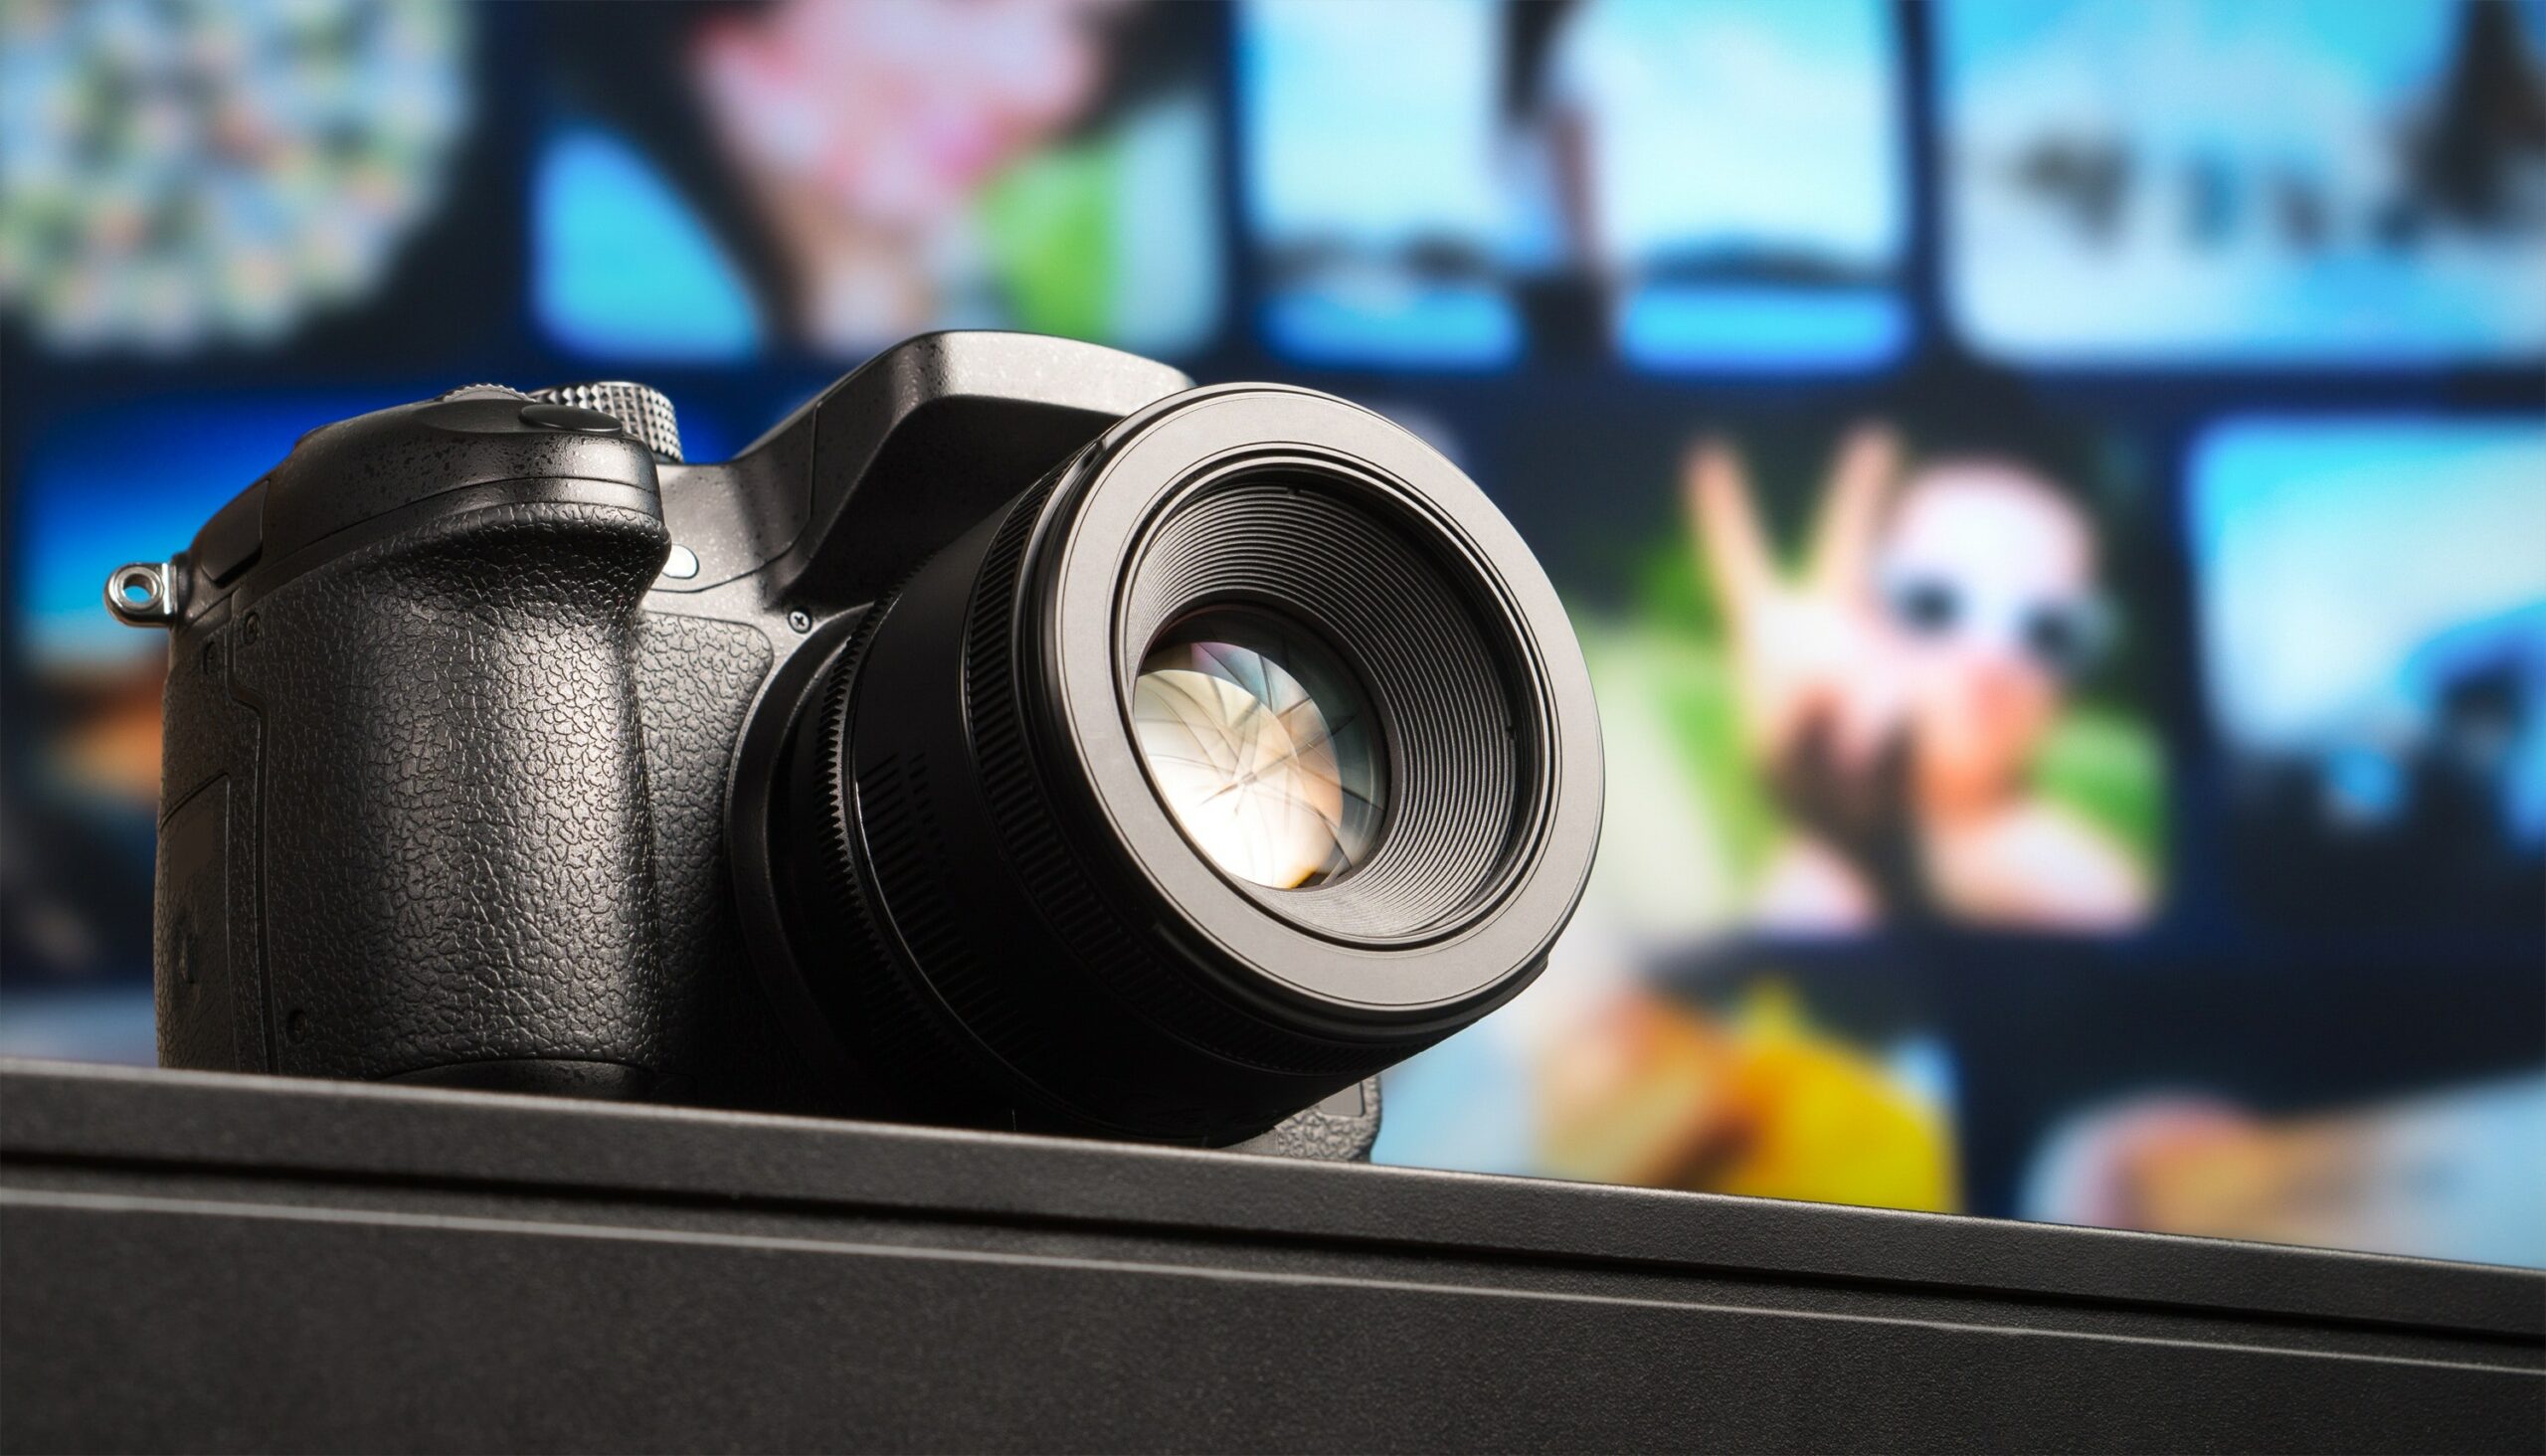
If you’re planning to shoot longer videos, a camcorder is your best bet. Why? It’s designed to handle extended recording sessions without any overheating or battery issues.
But what if your focus is on pre-recorded sessions that don’t require too much time? Then, a DSLR camera would be perfect. They deliver stunning image quality and are easy to operate.
You might ask: “What about quick, impromptu shoots?” Well, nothing beats the convenience of using your phone for this. With advancements in mobile technology, phones now produce high-quality footage suitable for professional use.
Finding The Perfect Fit For You
Determining what you need from a camera based on how it will be utilized is essential. No single solution works for everyone, as each option has its own advantages depending on the situation.
A camcorder offers endurance but might not give you DSLR-level image quality. A DSLR provides superb visuals but may fall short when shooting lengthy videos due to limited battery life. On the other hand, phones offer unparalleled mobility at perhaps some compromise in audio-visual finesse compared with dedicated video cameras.
Enhancing Your Background with LED Lights
Adding LED lights to your professional recording studio setup can dramatically improve the overall aesthetic and professionalism of your videos.
You might ask, “Why LEDs?” The answer is simple – flexibility and control. With smart bulbs like LIFX, you can adjust color temperature, brightness, and even apply special effects from your smartphone. That’s like having a professional lighting team in your pocket.

Finding the Perfect Color Balance
The right colors create mood and depth in any scene. Think about it as a painting with light: different hues tell unique stories.
To achieve this artistic touch, consider using colored gels or filters over white LEDs to experiment with shades that best suit the video content theme. But don’t forget balance – too much color may be distracting while too little could make scenes flat or dull.
Achieving Dynamic Lighting Effects
Moving beyond static setups adds more drama to each shot. A well-placed strobe effect during an intense gaming session or gentle fading between colors for meditation videos creates memorable experiences for viewers.
If you’ve ever watched music videos wondering how they get such dynamic lighting transitions – it’s all down to smart programming on their LED lights. So why not give it a go?
Incorporating Practical Light Sources
Sometimes what we need isn’t fancy studio gear but practical everyday objects around us like lamps, TVs or computer screens producing ambient glow that contributes naturally to our scene’s lighting environment. Now who said filmmaking couldn’t be DIY-friendly?
Selecting the Perfect Background
When setting up a professional recording studio, the backdrop is as important as the gear you use. A well-chosen background can create depth in your shots and add visual interest without distracting from the subject.
A canvas background offers versatility with its variety of colors and patterns. It’s an excellent choice for those who want to keep their options open or match different themes. You can get some top-rated choices on Amazon.
If simplicity appeals to you more, consider going for a clean, uncluttered backdrop. This could be anything from a painted wall to pattern-free fabric draped behind your subject. The key here is maintaining some distance between the speaker and this back wall; it helps avoid shadows and gives that desirable depth-of-field effect.
DIY Video Backdrop: Let Your Creativity Shine
Crafting your own video backdrop isn’t just cost-effective but also allows for customization according to personal taste or branding requirements.
You don’t need expensive materials either. From string lights draped over dark cloth creating a starry-night feel, rustic wooden pallets giving off an earthy vibe, or even colorful streamers arranged into unique patterns – there are numerous DIY ideas out there waiting to be explored.
Exploring Amazon’s Variety of Vinyl Background Options
Amazon offers various vinyl backgrounds suitable for different contexts, including brick and wood designs, high-value image backdrops like cityscapes or nature scenes, and even abstract patterns. For our project at Acceleratus Media, we chose a white distressed brick look that cost just $20. This design adds texture and depth to the video frame while maintaining a clean and modern appearance. You can see our favorite backdrops on this Amazon list HERE.
- Brick Designs: A classic choice for creating an urban or industrial feel in your videos.
- Wood Patterns: Ideal for adding warmth and coziness to any space; perfect if you’re going for a more rustic vibe.
- Nature Scenes: Great option if you want to showcase beautiful landscapes or outdoor settings in your content without leaving home.
- Creative Abstracts: If you prefer something unique yet visually appealing, consider selecting an abstract pattern that complements your brand colors.
Harnessing the Power of Good Lighting
Light is like a secret ingredient in your video recipe. Just as a pinch of salt can transform an ordinary dish into something mouth-wateringly good, lighting can turn mediocre footage into stunning visuals.
Ring lights, for instance, are not just Instagram models’ best friends. They’re powerful tools that offer even and flattering illumination on your subject.
Why Ring Lights?
A ring light eliminates harsh shadows by distributing light evenly around your subject. This helps to highlight details and creates a professional-looking setup without breaking the bank.
But it’s not only about buying equipment – understanding how to use it effectively is crucial too. If you want to make sure every frame of your video pops with quality, learning lighting basics could be one of the most beneficial steps you take toward better videos.
Setting Up Audio Equipment for Crystal Clear Sound
Great audio quality is the backbone of a professional recording studio setup. The right equipment can help you capture clear and crisp sound during your recording sessions.
The Heartbeat: Your Microphone
A high-quality microphone is like your studio’s heartbeat, it captures every nuance of sound that will breathe life into your recordings. You might want to consider Shure SM7B Vocal Dynamic Microphone, known for its warm and smooth sound capture.
Your Ears in the Room: The Audio Interface
An audio interface acts as an intermediary between your mic and computer, converting analog signals from the mic into digital ones your editing software can use. Something like the Focusrite Scarlett 2i2 (Third Gen) USB Audio Interface with Pro Tools First could be perfect here due to its superb preamps and low latency performance.
Battling Echoes: Acoustic Treatments
To further enhance audio quality, acoustic treatments are key. They minimize echo in the room leading to clearer recordings. Consider investing in something like these effective Foamily Studio Foam Panels. These work by absorbing excess sound bouncing around which reduces reverb within a space.
Remember, it’s not about the priciest equipment but rather knowing how to utilize what you have. A well-set-up studio can take even entry-level equipment and produce outstanding results.
Optimizing Your Editing Workflow
Enhancing the visual excellence of your recordings is an essential part in forming captivating material. To do this, you’ll need to harness the power of professional video editing software.

The Power of Professional Software
A robust editing tool lets you add stunning graphics, smooth transitions, and striking effects to your videos. One top-tier choice for professionals is Camtasia. But don’t be discouraged if it seems complex at first glance; there are plenty of resources out there like tutorials from Camtasia’s own site.
Taking Advantage Of Advanced Techniques
Beyond basic cutting and trimming, advanced techniques can give your videos that extra oomph. For example, color grading helps maintain a consistent aesthetic across all scenes – think about how Instagram filters work but are more nuanced. Adding animated text or using split screens are other ways to uplevel your content.
Prioritizing Efficiency in Your Workflow
Having an efficient workflow not only saves time but also allows for more creativity because you’re spending less energy on repetitive tasks. You could use keyboard shortcuts or customize workspace layouts based on what works best for you.
Remember: no two workflows will look exactly alike – so feel free to experiment until you find what suits your style best.
Investing in Quality Tripods and Mounts
Getting a quality tripod is like having an extra set of hands. It holds your camera steady, letting you focus on creating fantastic content. Sturdy tripods are essential for stable and well-framed shots.
A shaky video can distract viewers from your message. But don’t worry. You won’t need to hold the camera all day long with a reliable mount.
Picking the Right Tripod Material
Metal or carbon fiber? Each has its advantages. Carbon fiber is lightweight yet robust, making it ideal for traveling videographers who frequently move their setups around different locations.
In contrast, metal tripods provide more stability due to their weight but may not be as portable as their carbon counterparts.
The Importance of Mount Compatibility
To make sure everything runs smoothly during filming sessions, confirm that your mount aligns with your chosen camera perfectly before purchasing it – nothing’s worse than finding out they don’t match after delivery.
Listed here are some popular mounts compatible with most cameras: Manfrotto’s collection.
Don’t Forget About Adjustability
Adjustability is key when it comes to tripods. Whether you’re shooting from a high or low angle, having an adjustable tripod can make your life easier.
So, remember: investing in quality tripods and mounts will help deliver top-notch results for your video content. It’s worth every penny.
Creating a Comfortable and Functional Recording Space
Comfort is king when it comes to creating an ideal recording environment. The space should not only look professional but also make you feel at ease during long hours of filming.
Ergonomic Furniture for Long Sessions
The first step in achieving comfort? Invest in ergonomic furniture. A comfortable chair can make all the difference during lengthy shoots. It helps maintain good posture, reducing physical strain on your body.
A Clutter-Free Setup Enhances Efficiency
A clutter-free setup doesn’t just appear neat; it also enhances efficiency by keeping necessary tools within reach. An organized workspace means less time searching for gear and more time spent producing quality content.
Cable Management Keeps Distractions at Bay
Tangled cables are not only visually unappealing but could pose safety risks too. Proper cable management ensures safe movement around the studio without fear of tripping over cords or damaging equipment.
Finding Your Comfort Zone Is Key
Your comfort zone might be different from others. Maybe you like natural light streaming through windows, or perhaps soft music playing in the background keeps you focused while working. Identify what works best for you to create an inviting ambiance that inspires creativity every day.
Prioritizing Audio and Video Monitoring
Getting your audio and video just right is like fine-tuning a guitar. You need to hit the perfect notes to produce harmonious results. To do this, you’ll need more than raw talent – proper equipment can make or break your recording session.
The Power of Real-Time Video Monitoring
Ever tried painting with your eyes closed? That’s what it’s like filming without a monitor. A good video monitor lets you see exactly what you’re capturing in real time, helping you catch any issues before they become costly mistakes.
Catch Sound Issues with Headphones
Headphones are essential for precise audio monitoring, allowing you to make necessary adjustments on the fly. Think of them as sonic microscopes that help detect even the slightest distortion or imbalance in sound levels during recording sessions.
Making Necessary Adjustments on The Fly
The beauty of real-time monitoring is being able to fix problems immediately rather than discovering them only after wrapping up the shoot. So whether there’s an unexpected echo or some rogue shadows lurking around, making necessary adjustments becomes hassle-free.
Constantly Improving and Upgrading Your Equipment
Your recording gear is a bit like a car. It may be excellent when you initially obtain it, but as time passes, newer versions with enhanced characteristics become available. Staying updated with the latest advancements in recording technology is essential to keep your content fresh and engaging.
A key part of this process involves regularly assessing your setup. This isn’t just about adding new gadgets; sometimes an upgrade could mean simplifying your workflow or improving efficiency.
The world of audiovisual tech can feel overwhelming at times, but there are plenty of resources available that offer helpful reviews and comparisons for different types of equipment. For instance, B&H’s guide for new filmmakers provides practical advice on what to consider when choosing cameras, lighting setups, and microphones.
Becoming More Adaptable With New Tech
Newer technologies aren’t just about enhancing video quality—they also help you adapt to changing circumstances quickly. Consider investing in mobile-friendly gear if you frequently record videos outside the studio or need more flexibility during shoots.
Maintaining Quality Through Regular Updates
Sure, updating equipment requires investment—but think about it as protecting your brand’s image quality long-term. When viewers notice consistent improvements in production value over time, it shows them that they’re worth investing into. Just make sure not to sacrifice content substance for style—your audience still wants solid information delivered clearly.
Check out this video! Owen Video shares his affordable and professional YouTube home setup.
Click to Tweet
Conclusion
Creating a professional recording studio setup doesn’t have to be daunting.
You’ve learned how crucial the right camera is for your specific needs. Whether it’s a camcorder, DSLR or even your phone – each has its own strengths.
We’ve shown you that LED lights and an appealing backdrop can make all the difference in setting up an engaging visual environment. You also now know how essential good lighting is to achieve high-quality video production.
The power of clear audio was another key takeaway. Investing in a top-notch microphone and audio interface isn’t just optional – it’s vital!
And remember: always aim for continuous improvement! Keep abreast with technology advancements, regularly assess your setup, and upgrade when necessary.
Above all else? Be patient! Mastering your professional recording studio setup takes time but will ultimately pay off big time!


